


Today friends, today is ALL about my issues. But not those issues, we don't have time for that. Instead you'll have to settle for hearing about my Github Issues.
I decided I needed to practice working with Git/Github more recently, so I took a project that I have about 90% finished and started adding all of the adjustments I needed to make on it to the issues tab on the repo. I really wanted to make a super basic walkthrough of the process I'm using, in case it helps anyone else! Fair warning, there are a LOT of screenshots in this one!
Step 1. Create the Issue!
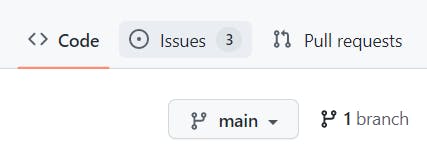
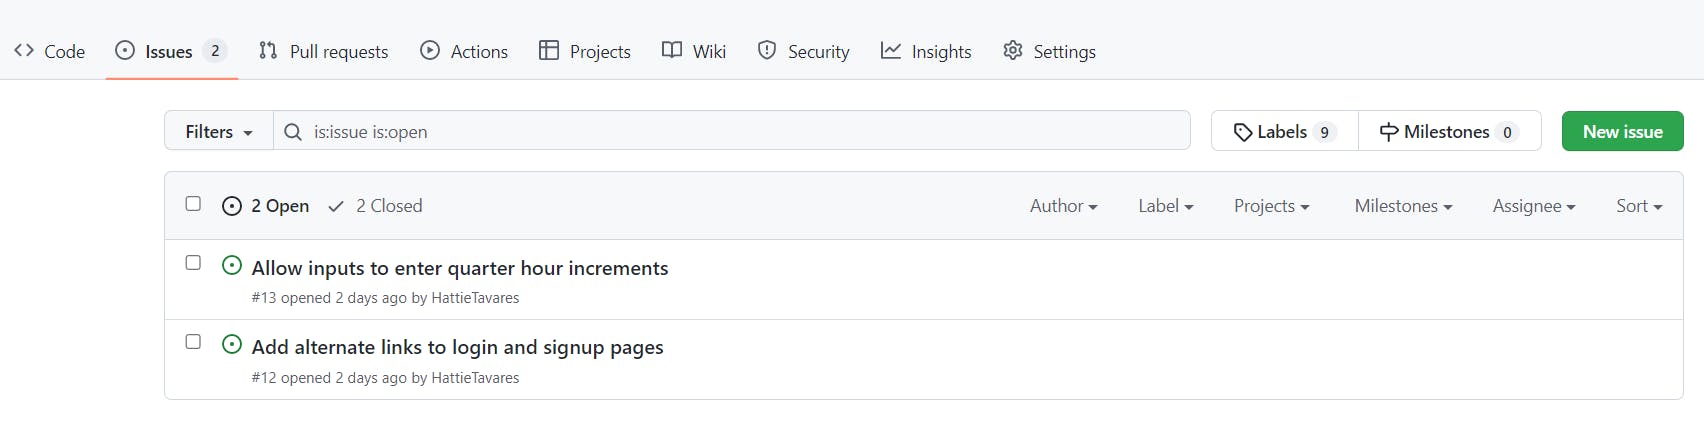
- On the main page of your repository you should see a tab called Issues:
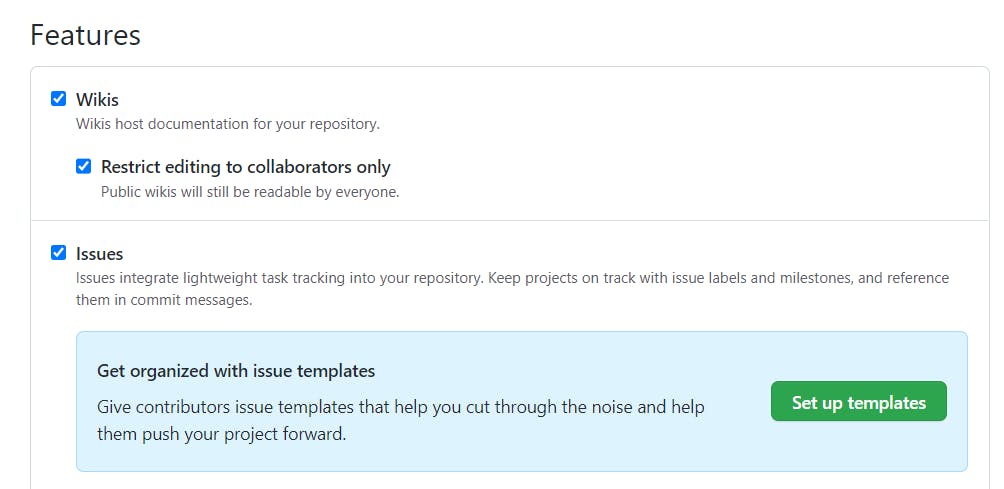
- One thing to check, in the off chance you don't see it, is that you have issues enabled. I discovered that it was disabled on a repo that I had forked. In that case go to your Settings tab and look for the box called Features. There should be a box to check to allow Issues:
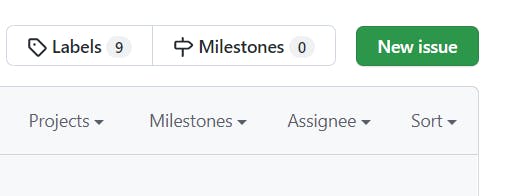
- Once you've gone to your issues tab, there will be a green button to create a New Issue:
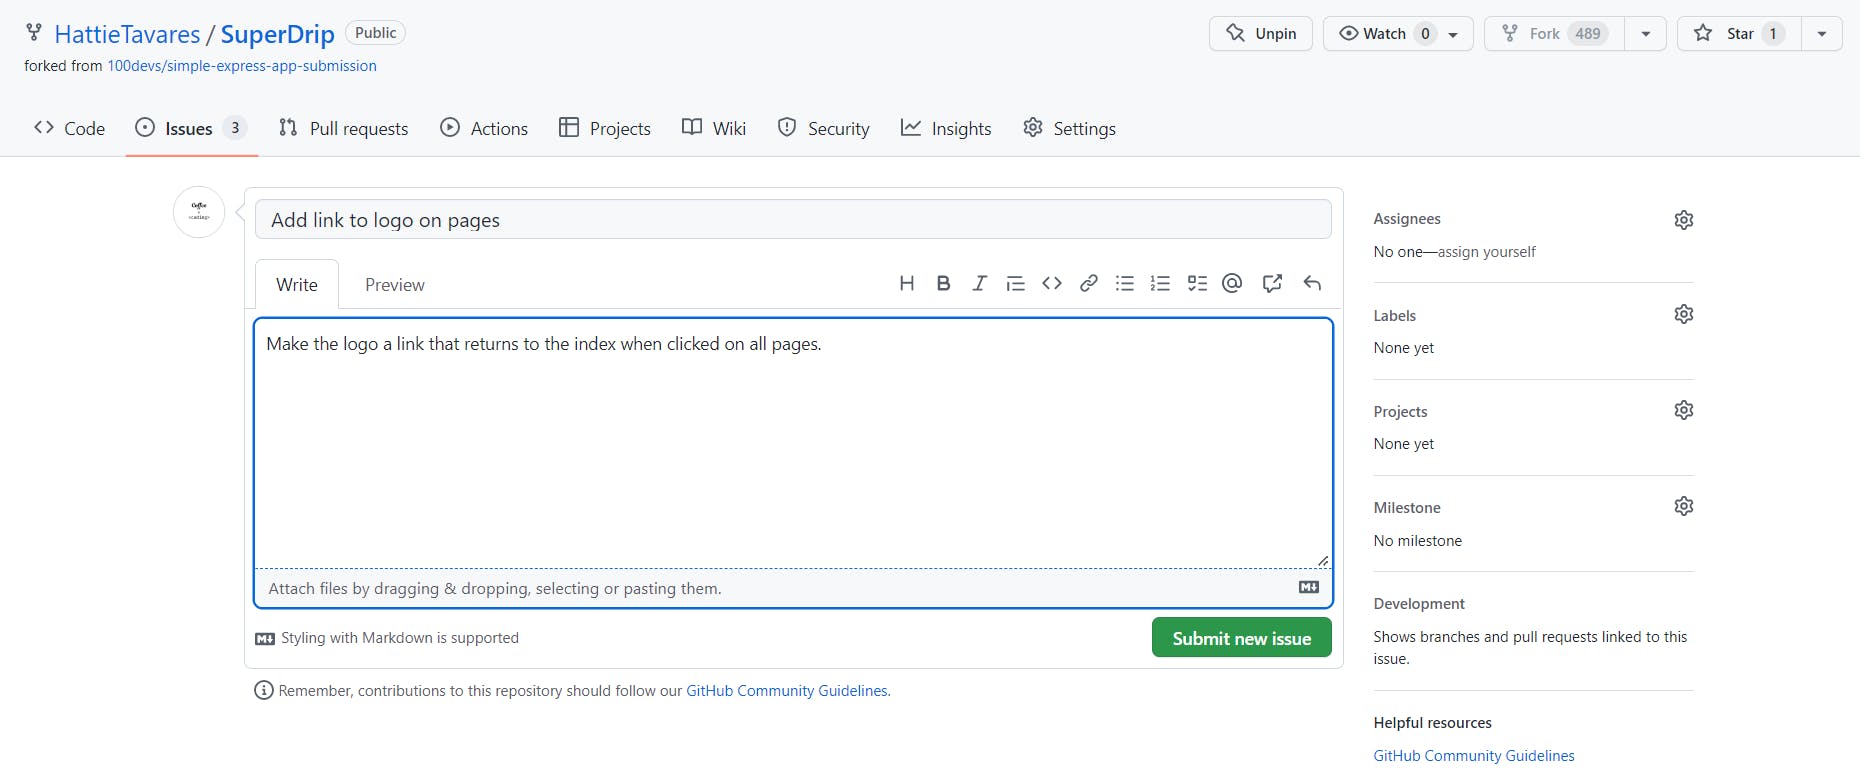
- A form will pop up to allow you to name the issue and describe it:
- Create a branch for your Issue!
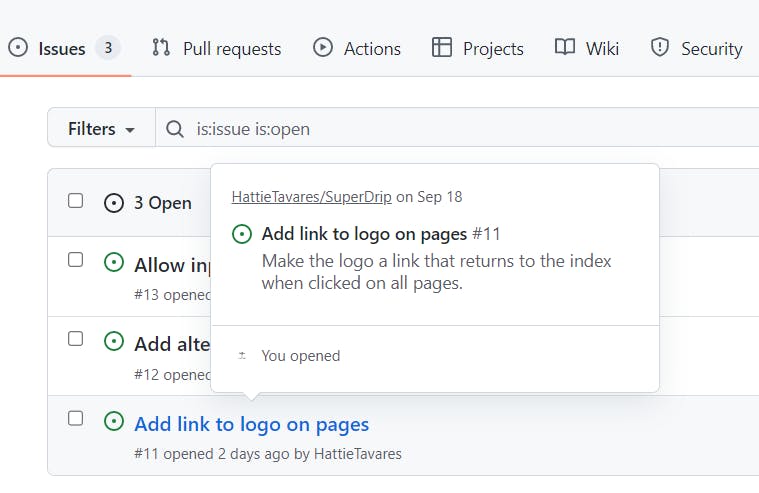
- You can create a branch right on Github for your issues! Go back to your Issues page, if you aren't there already, and click on the issue you want to work on:
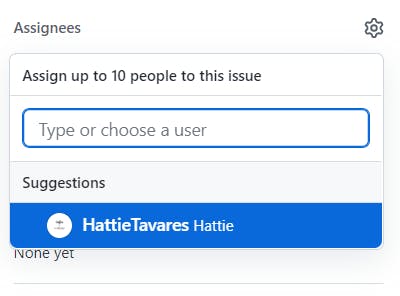
- You can also assign the issue, on the top right there is a box to choose an Assignee:
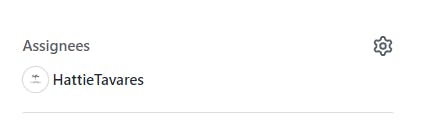
- I did choose to add myself to this issue so after it shows my name under that heading:
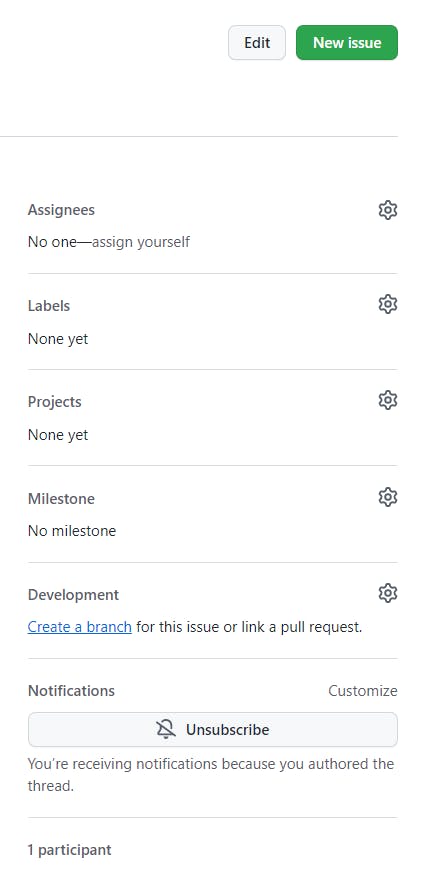
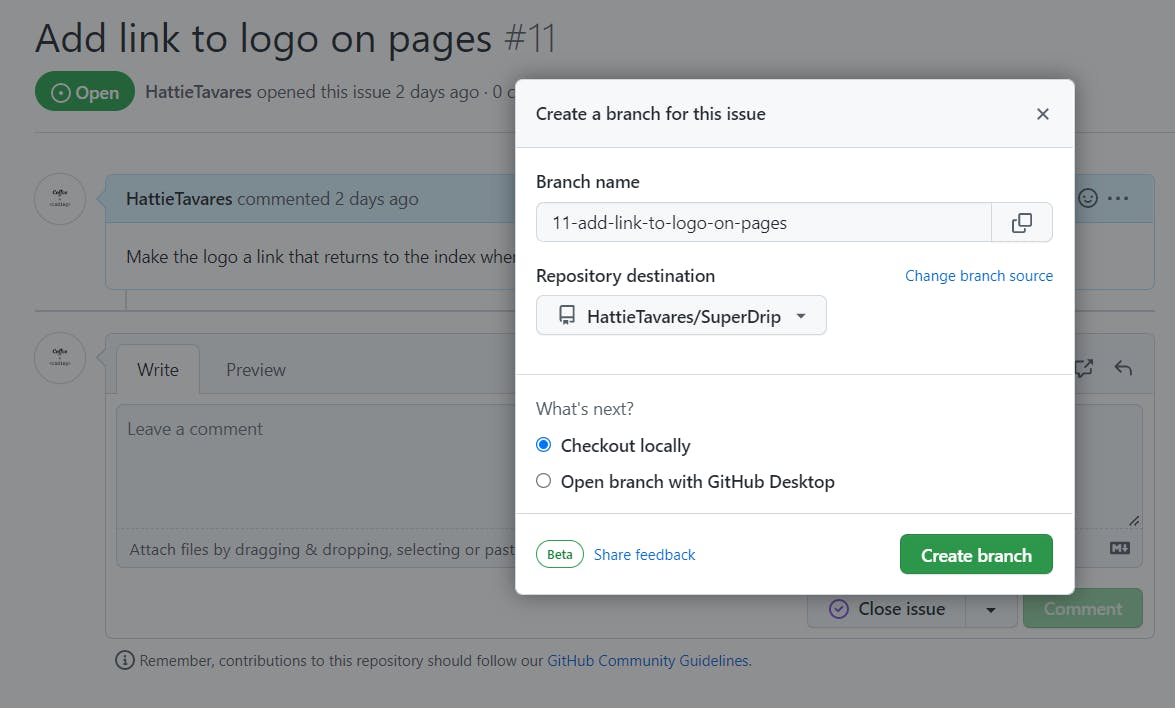
- Next on this same page, also on the right sidebar but further down, there is an option under Development that says "Create a branch for this issue or link a pull request." :
- Click it and a box will pop up with options you can edit, I chose to leave mine as is:
- After you click to Create Branch, another box pops up giving you the code to paste in your terminal to switch to this branch for editing:
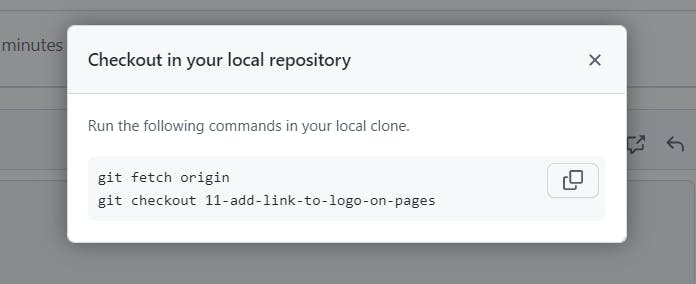
Go ahead and put those in whatever tool you use, and now you're ready to make changes!
- Go fix the Issue on your local copy of the repo!
- When the issue is fixed you will push those updates to the branch you created. If you've forgotten the name of your branch while working on it you can type:
git branch
The branch you are working on will be in green text.
Otherwise you will do your normal process to push:
git add <filename> OR git add .
git commit -m "your message here"
git push origin <your-branch-name-here>
For example mine said:
git add .
git commit -m "added link to the logo text on all views"
git push origin 11-add-link-to-logo-on-pages
Now we can finish up our issue on Github!
- Create a pull request!
- Now when you go back to your main repository page, you should see an alert telling you that there were recent changes, click the green button that says Compare & Pull Request:

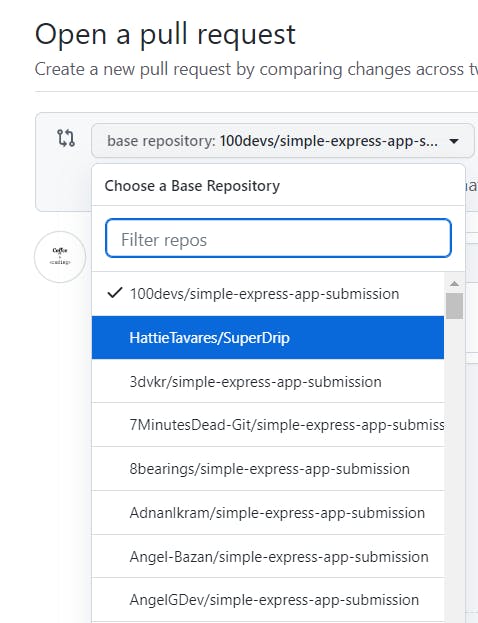
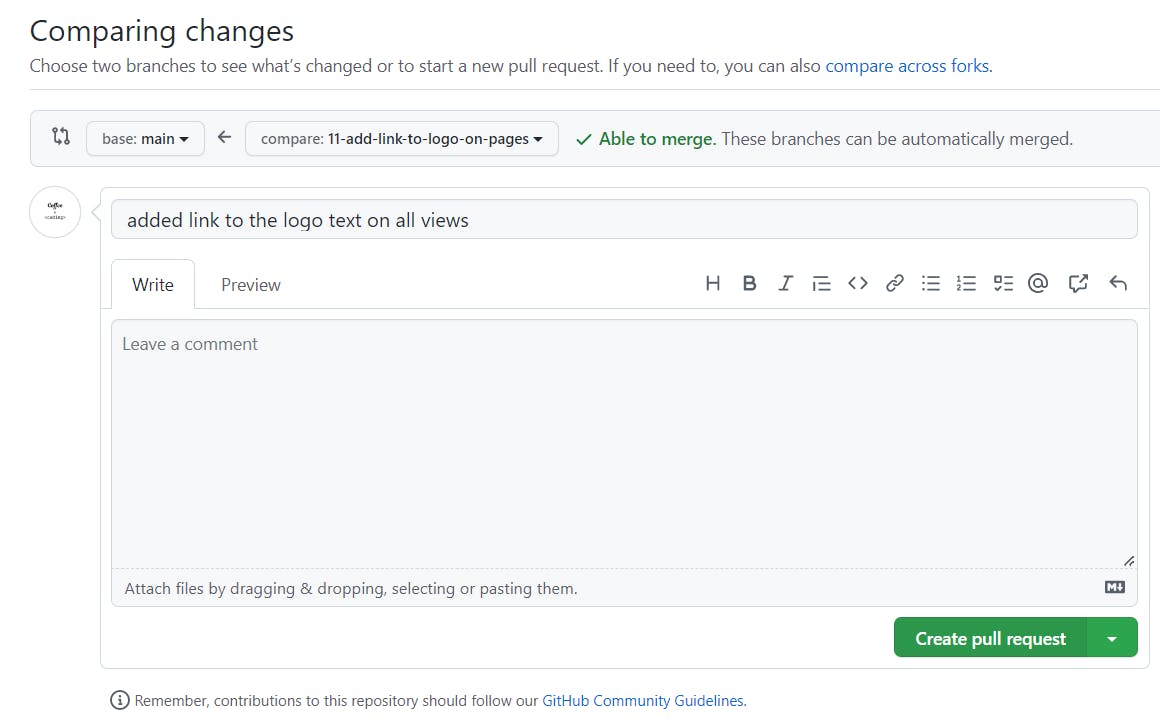
- Next we'll see a form to open a pull request. Make any necessary changes, including making sure the repo you are submitting the request to is correct. If you forked your repo it may be set to push to the original instead!
- Make any changes and then click Create pull request:
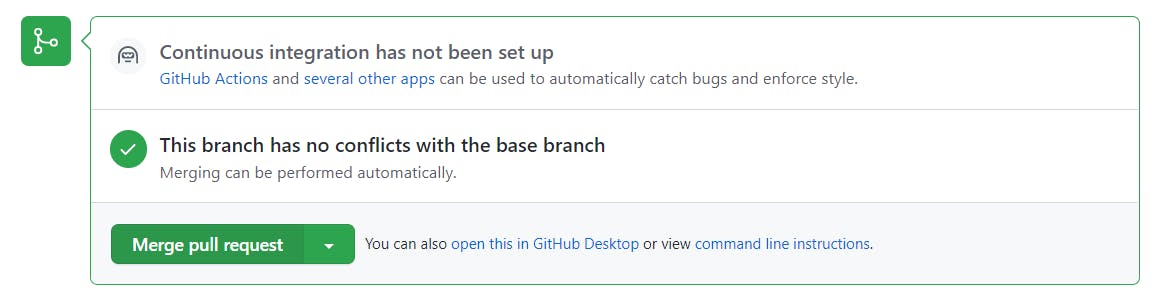
- Now you will need to accept it. Scroll down until you see Merge pull request:
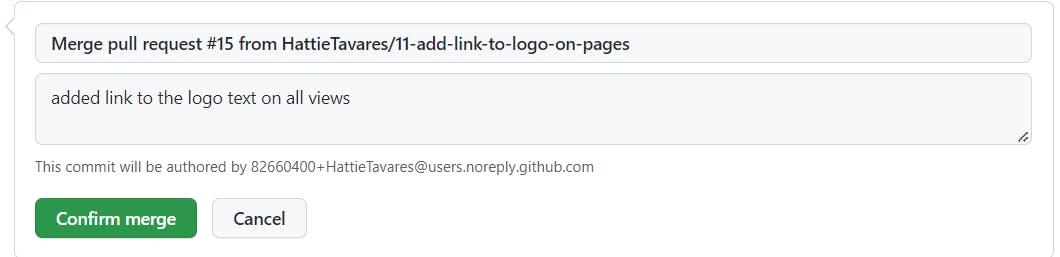
- And confirm:
- And you're done! You will see a prompt to delete your branch if you wish:

- Now if you go back to your Issues page, that issue is gone!
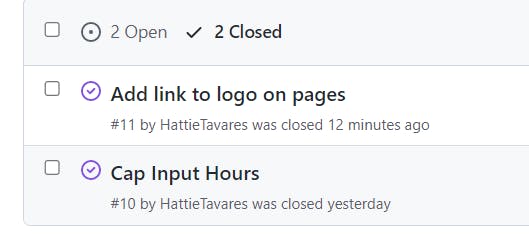
- You can see your closed issues by clicking on the link that says # Closed, for example mine shows 2 Closed, and then you'll see all the closed issues:
This is just the process I'm following and may not be 100% correct, so please feel free to suggest improvements, or mention anything I missed!